Using the File Property
This guide shows how to add and configure a file property in your workflow, using a CIM document as a practical example.
Introduction
Whether you're analyzing a PDF, CSV, Word document, or another supported file type (see full list of supported file types), the process for setting up your workflow is the same.
In this guide, we'll use a Confidential Information Memorandum (CIM) as our example, so you can follow along and apply the same steps to your own files.
Watch this quick walkthrough, or follow the steps below to get started.
Step 1: Add a File Property
If you started with the blank workflow template, you’ll see a file property included by default. If not, add a new property and set its type to File.
Tip: Rename your file property to something meaningful for your use case. In this example, we’ll name it CIM Document.
Step 2: Upload Your Document
You can upload your file in two ways:
-
Drag and Drop
- Drag your file from your computer and drop it into the upload area.
-
Use the Dropdown Menu
- Click the dropdown in the file property field.
- Choose to upload from your local computer, or reference a file already stored in your Knowledge Hub.
You can also create a new workflow from a CSV file or a JSON structure file by clicking on the + button in the Go homepage:
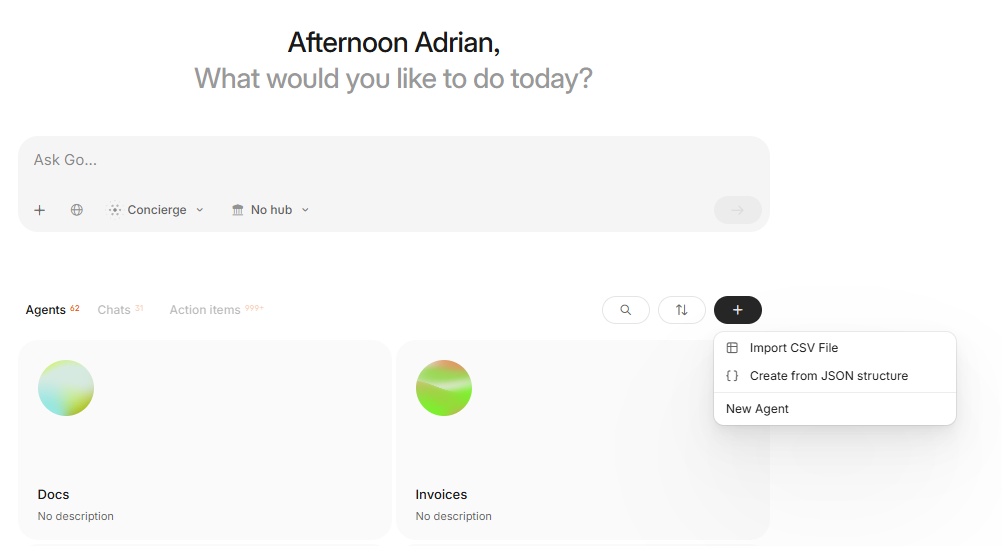
Create a workflow from a CSV File
You can also import a CSV file into an existing workflow by clicking on the three dot menu next to the workflow name:
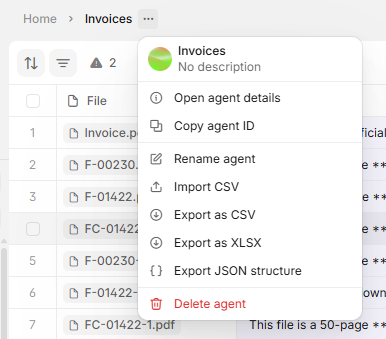
Import a CSV file into an existing workflow
Next Steps
Once your file is uploaded, you can add more properties to configure your workflow to analyze the document’s contents. We’ll continue using the CIM example in future guides, but you can follow the same process for any file type.
Next, let's add a text property to extract information from our file!
Updated 15 days ago